When I got back I promised I'd build him a guitar to demonstrate how it all worked. Which was grand, except since moving into the workshop bungalow, I've not been able to find the massive PCBs to connect up the WS2812B RGB LEDs.
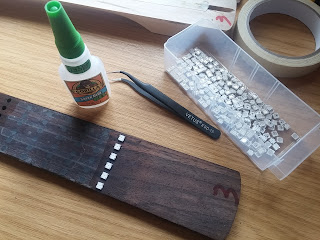
Not wanting to go back on promise meant only one thing - hand-solderingall 96 of the little buggers with a pair of tweezers and some thin-gauge wire. I thought I'd left wire-wrapping behind in the 90s! Luckily there were a couple of laser-cut fingerboards left over from building the last few guitars about a year ago, so I set about super-gluing some LEDs to the underside.
I got the idea from messing about with the electronic board game; having PCBs built for them would be prohibitively expensive, so we swapped the circuit boards for strips of copper tape and hand-building with loose components. By placing the LEDs the right way around, I figured I could connect the data_in and data_out pins together easily, then just join all the power and ground pins to two strips of copper tape on each fret.
It took nearly two days of positioning, soldering, testing, debugging, re-soldering - in between other work - but the end result was quite impressive
Connections between each strip of lights was made up the centre of the fingerboard so the outer sides could be glued to the guitar neck; since the truss rod is down the middle of the neck we wouldn't be gluing the centre of the fingerboard anyway.
A quick rainbow sketch on an Arduino with the FastLED library and we had a rather attractive display. Never mind lighting up frets, learning scales and showing how to play the guitar - I quite fancy another one of these with just the rainbow pattern. I might not be the best performer at the next Open Mic Night at the Pebbles, but I'll certainly be the brightest!


No comments:
Post a Comment